The Internet radio
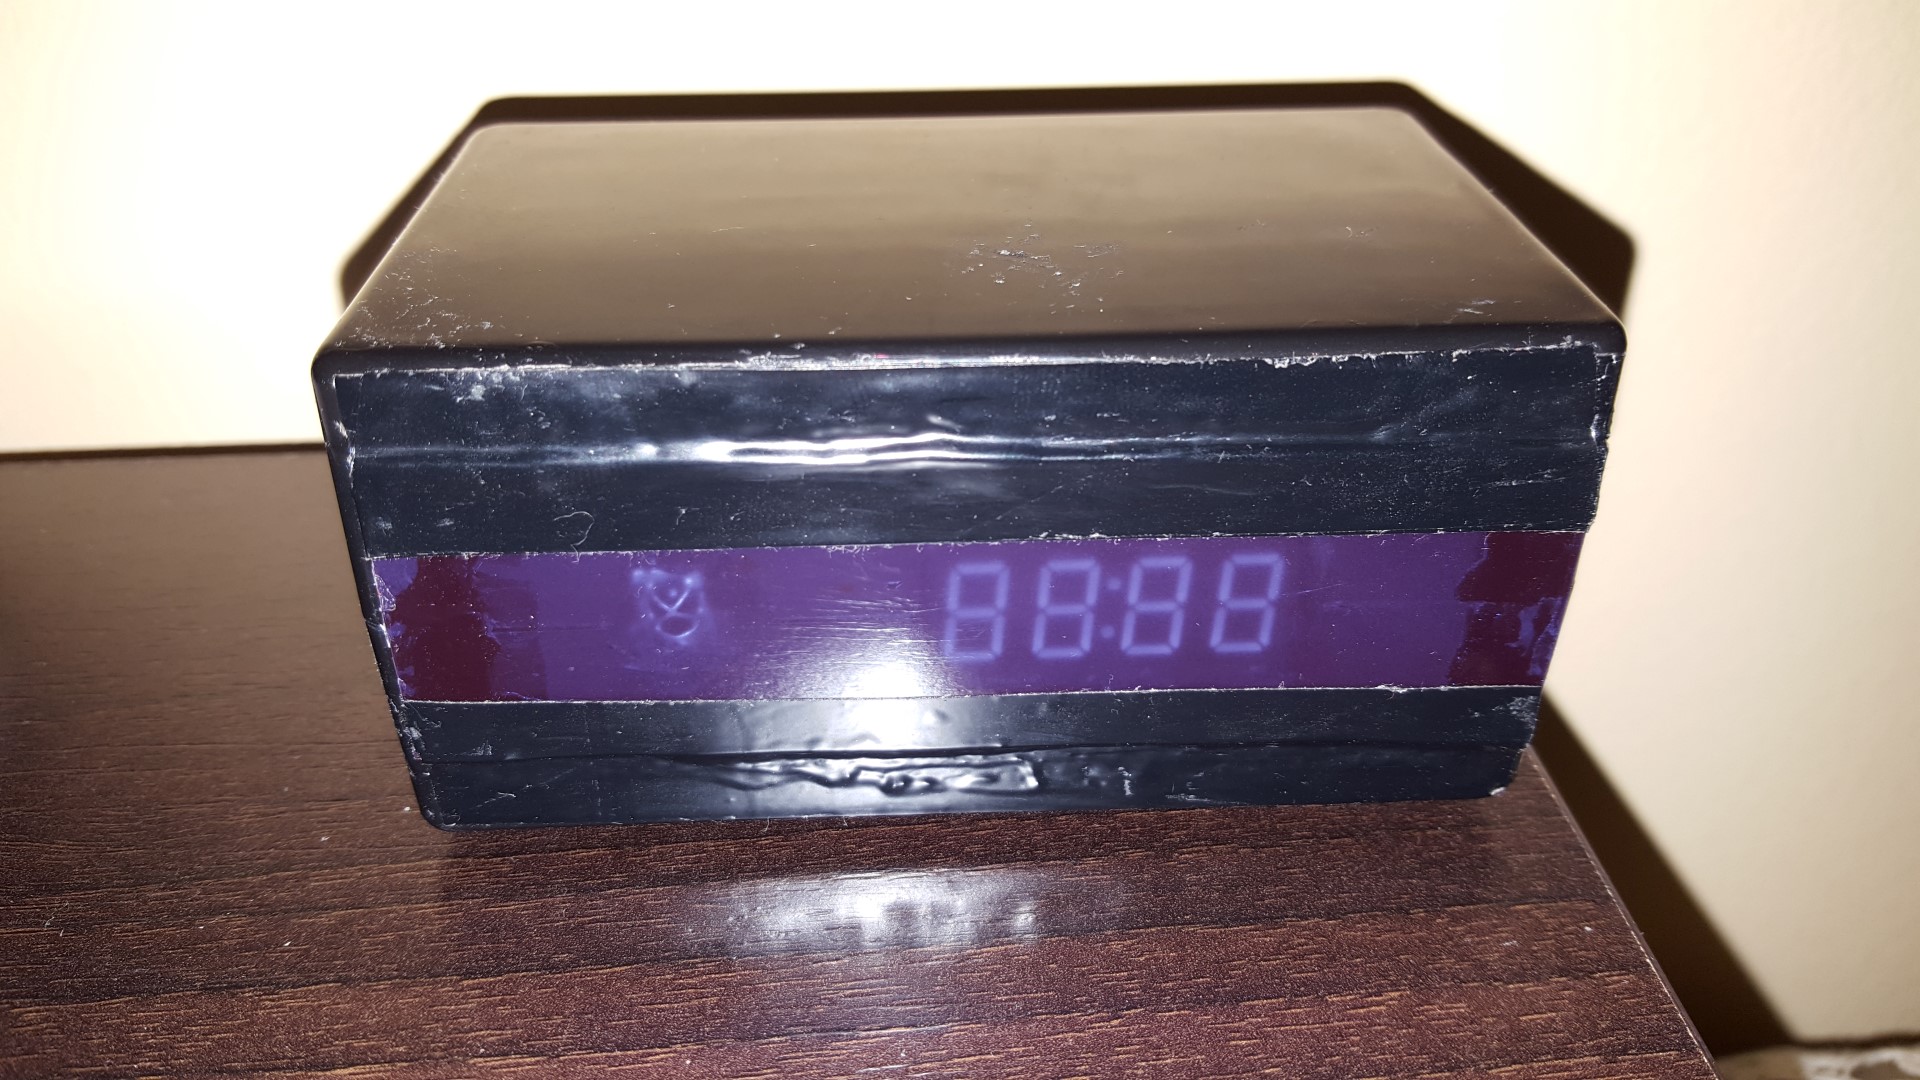
Feature rich Raspberry Pi3 internet radio with clock
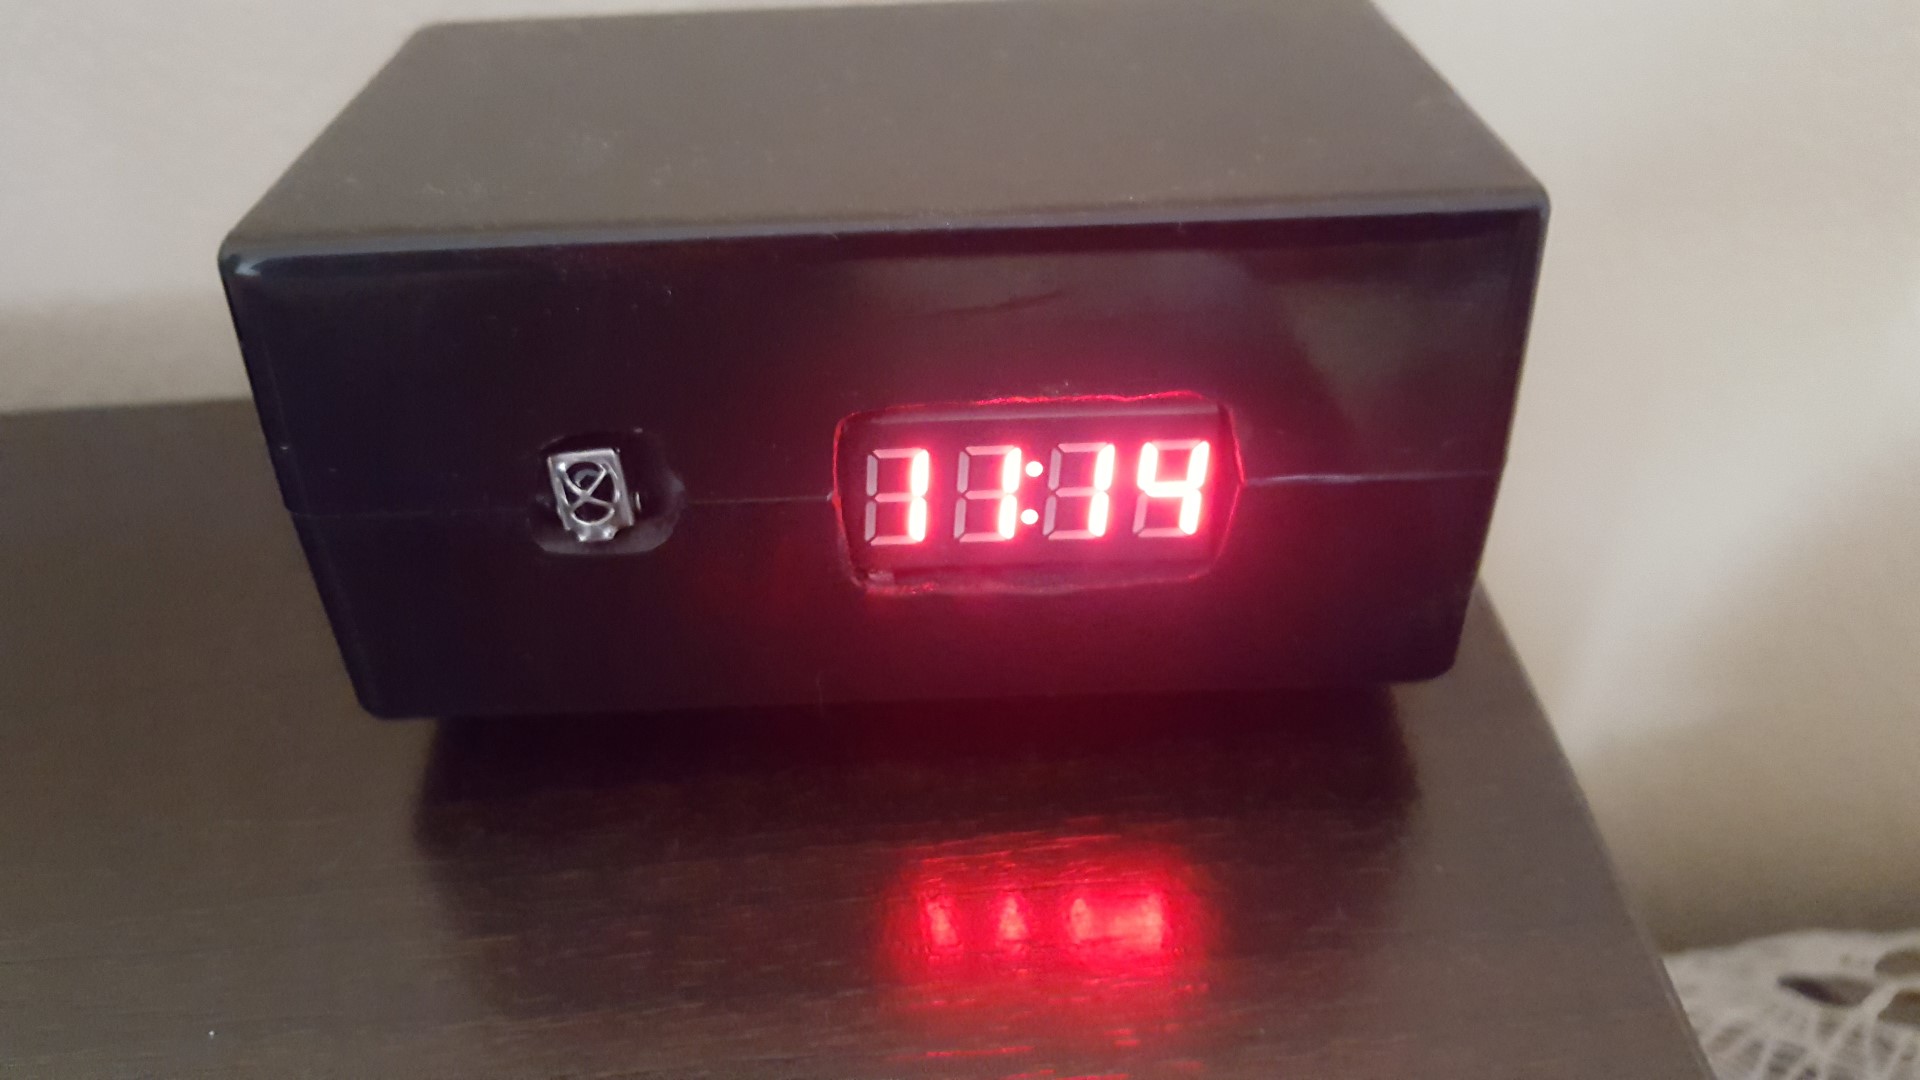
I wanted to create an Internet radio. After searching the WEB I have selected RuneAudio for my basic PiMucic Box. RuneAudio runs on RuneOS, a custom built GNU Linux operating system, based on Arch Linux. It is lightweight, and it has an ultra low latency. It's multiplatform, optimized to run on multiple devices, and it aims for the best reasonable sound quality from each device.
Components
Below is the list of the components to build the Internet radio:
- Raspberry Pi3 - you can get it from The PiHut
- Raspberry Pi3 Case - you can get it from Aliexpress
- 2 Channel SSR Solid State Relay - you can get it from Aliexpress
- HX1838 Infrared Remote Control - you can get it from Aliexpress
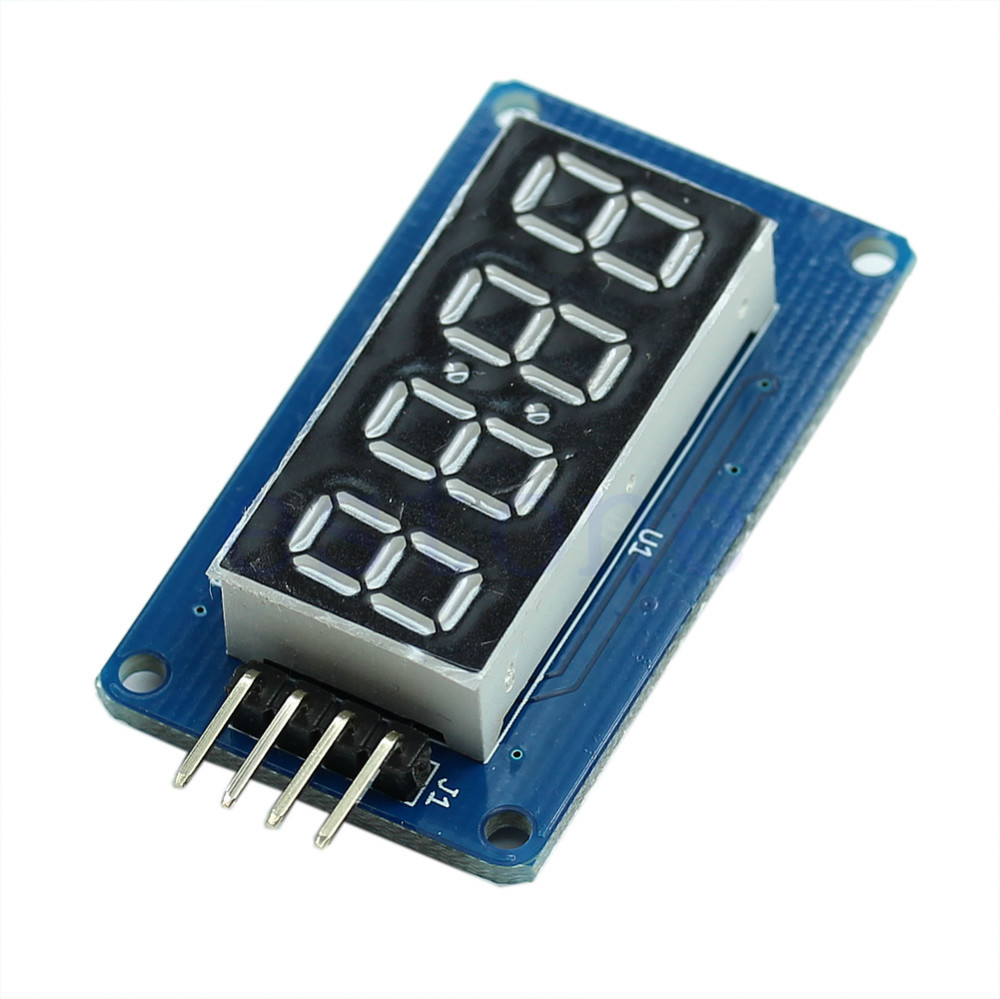
- TM1637 4 Bits Digital Tube LED Display Module - you can get it from Aliexpress
- Raspberry Pi3 CAse - you can get it from Aliexpress
- MCE IR Remote - optional - you can get it from Aliexpress
- USB Sound card - optional
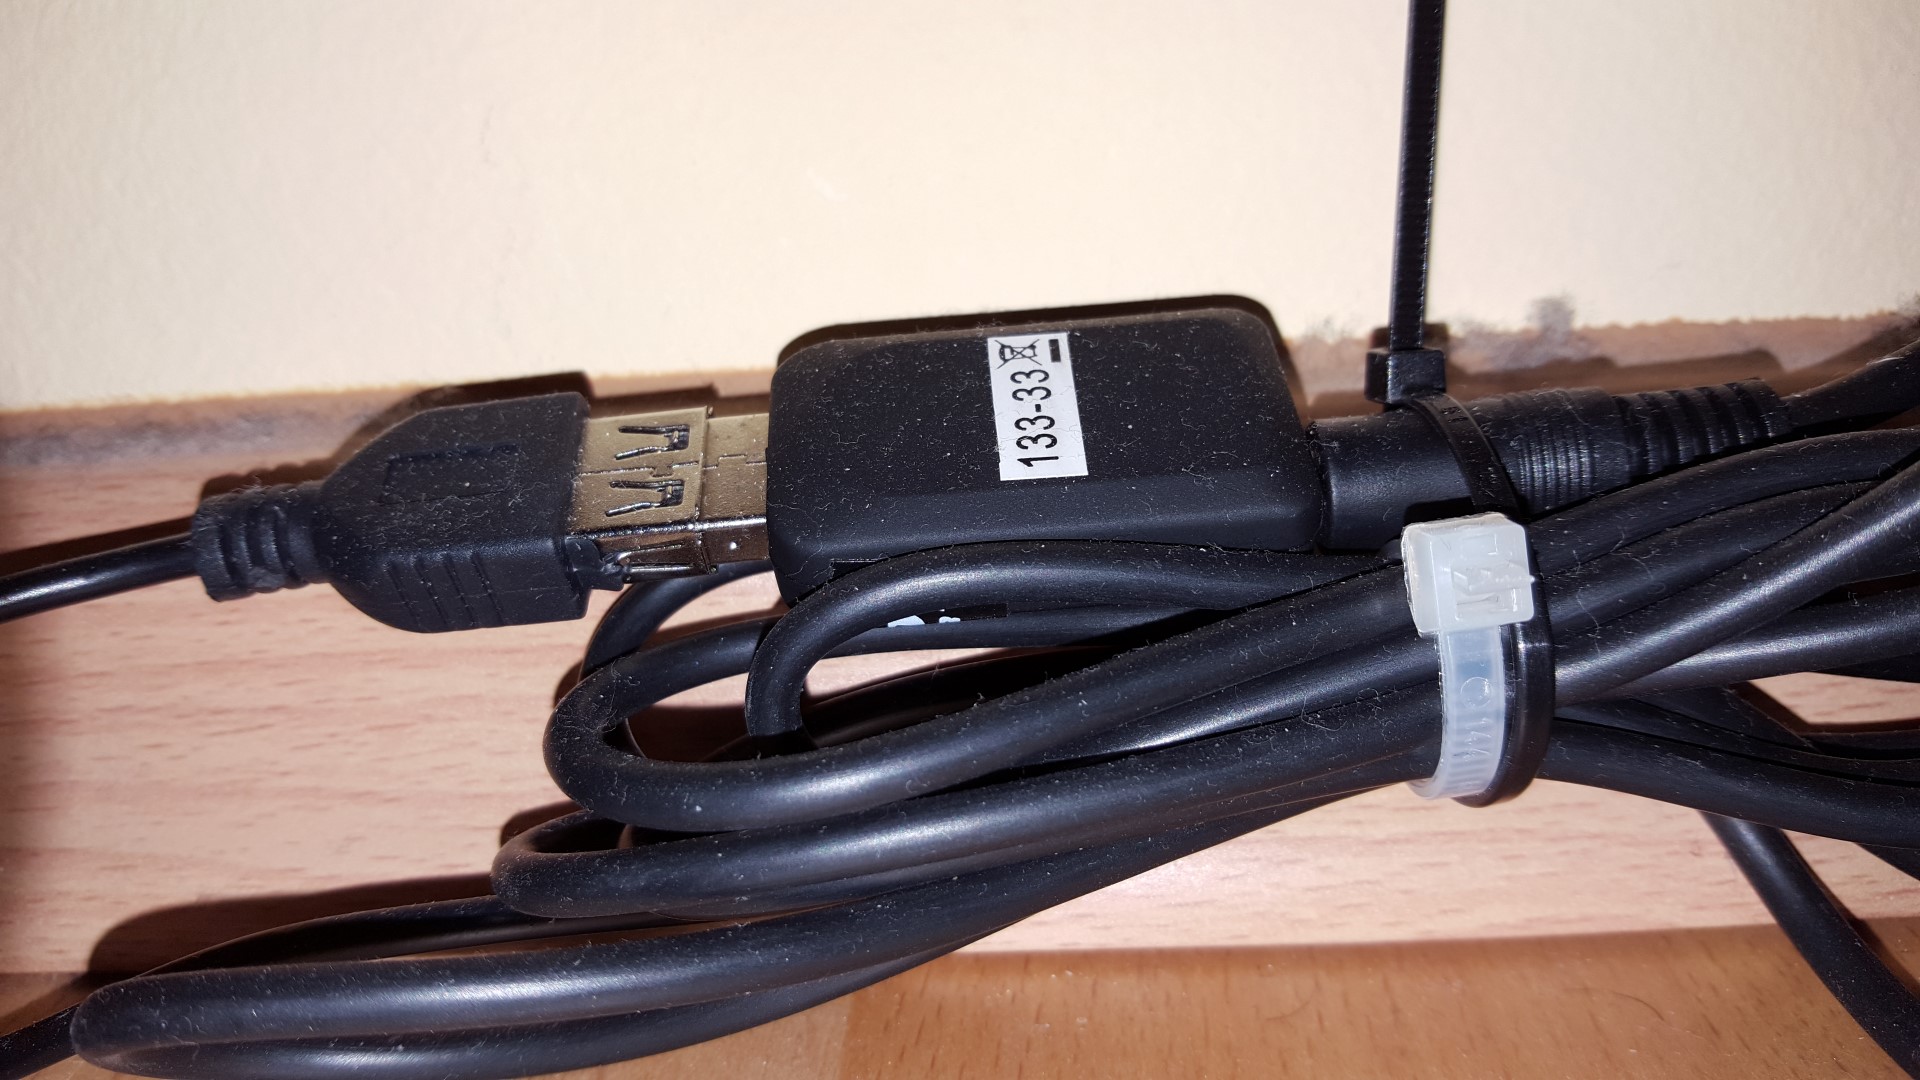
- and some cables
Most of the parts we can get form Aliexpress. I also recommend using USB audio card for better sound. I use Sandberg USB to Sound Link, but I do recommend a better sound card, for example Sound Blaster X-Fi Go! Pro.
So let's start
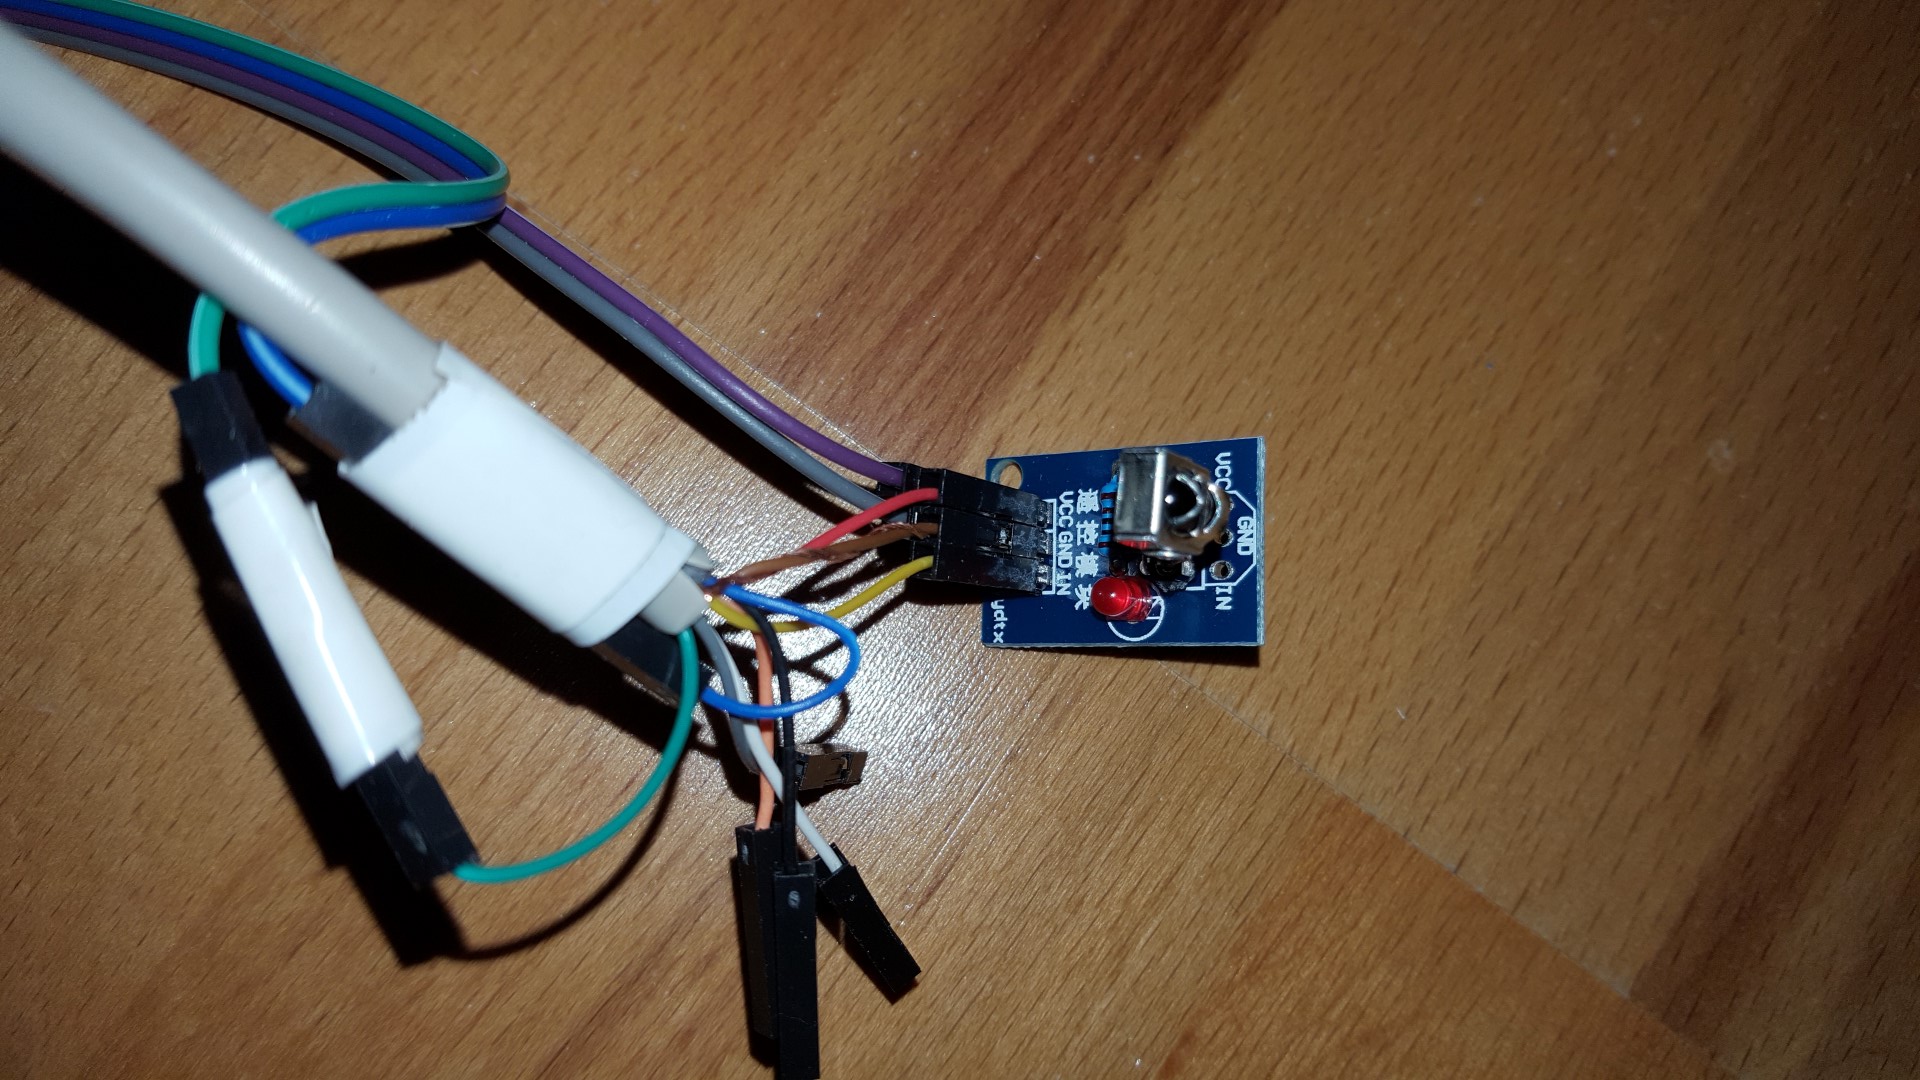
First we connect IR Receiver and display to the Raspberry Pi3. IR will use GPIO 18 (pin 12), pin 2 for +5V power and pin 6 for ground.
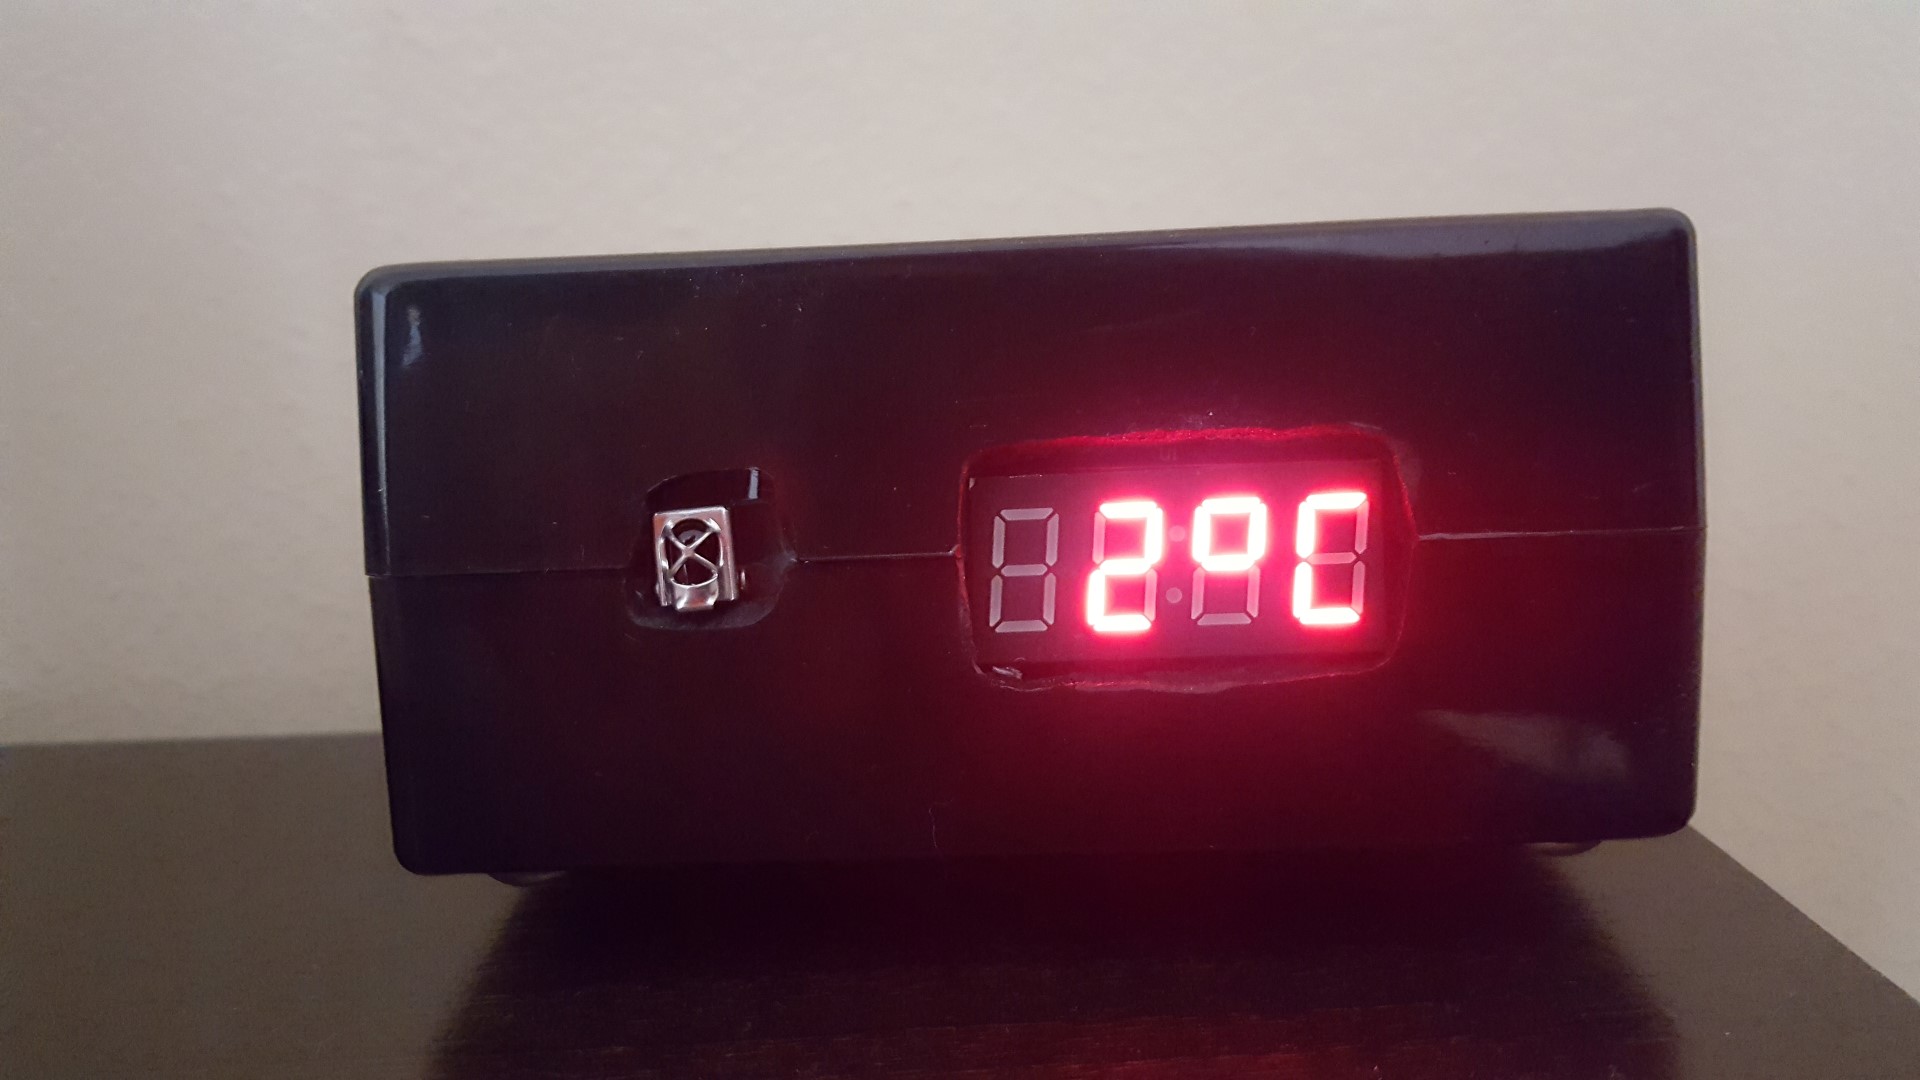
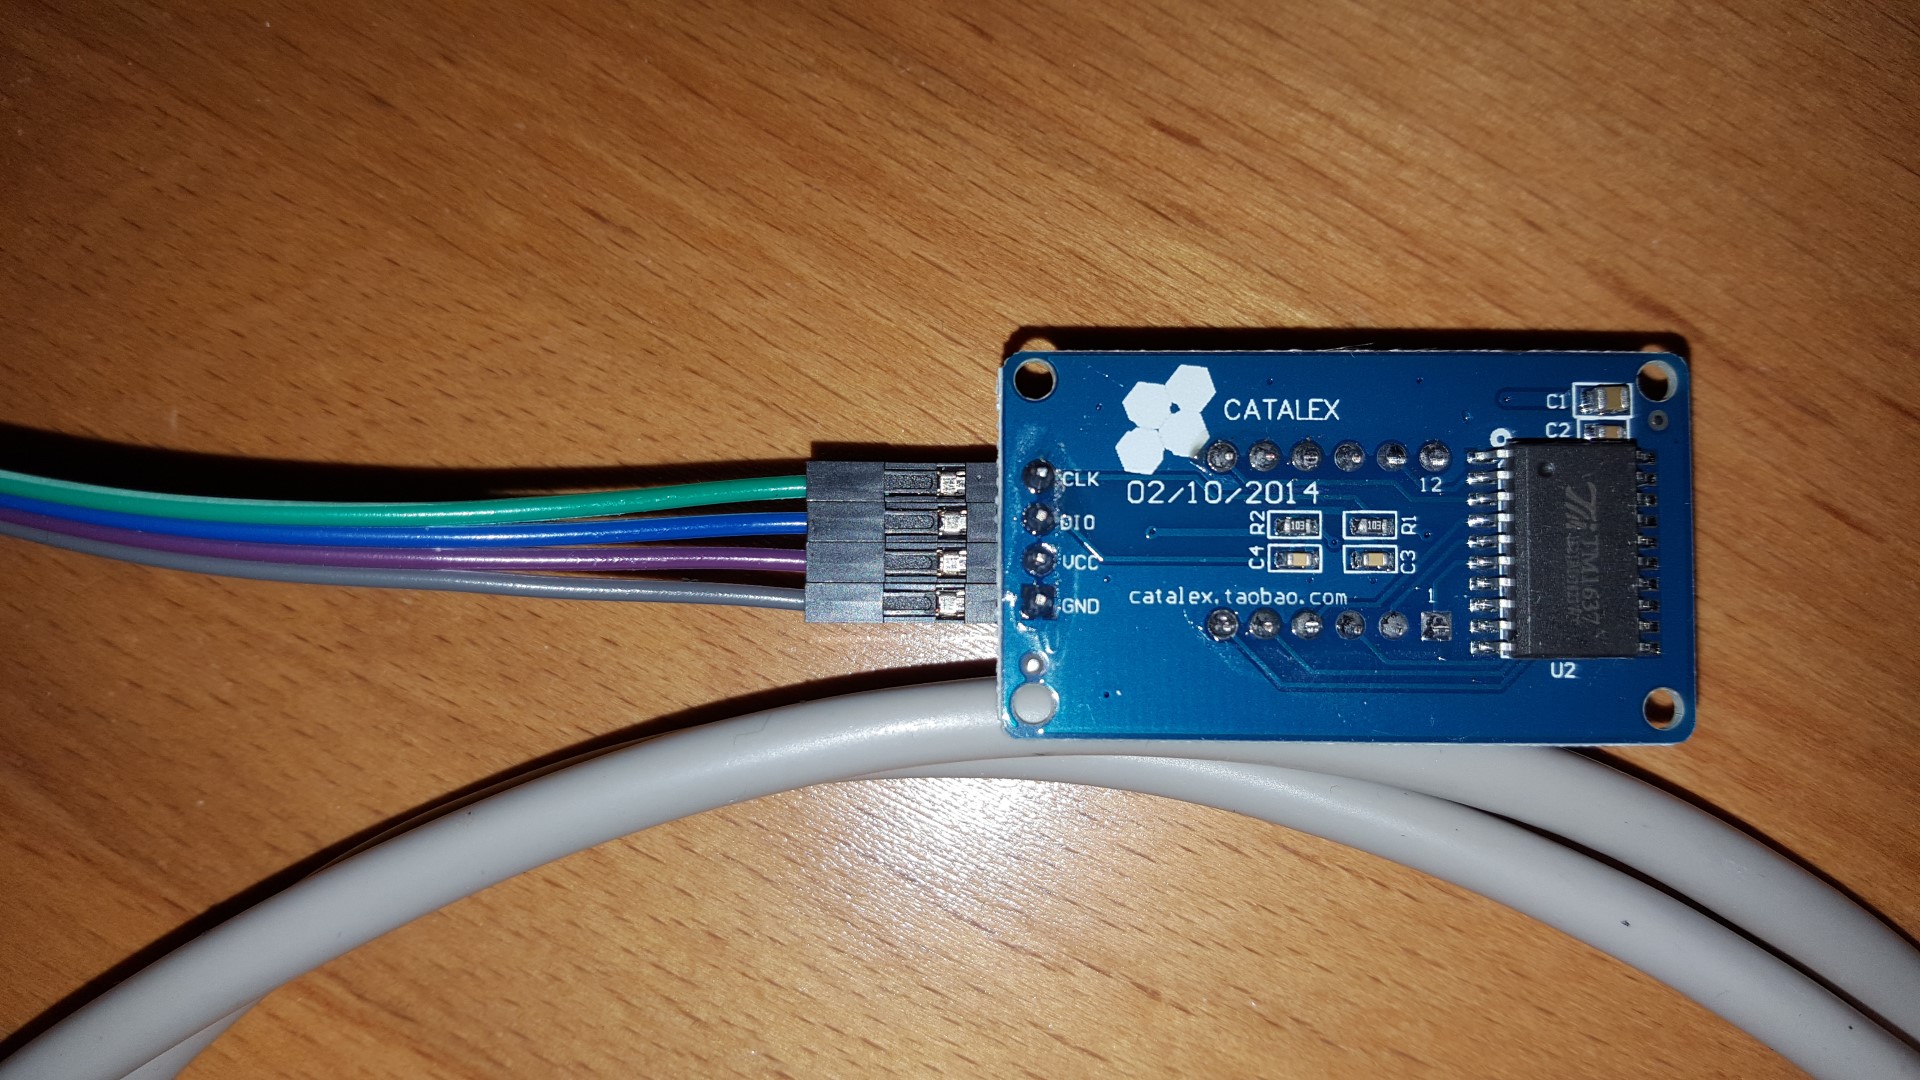
Then we connect the LED display to GPIO 27 (pin 13) as CLOCK and GPIO 22 (pin 15) as DATA.
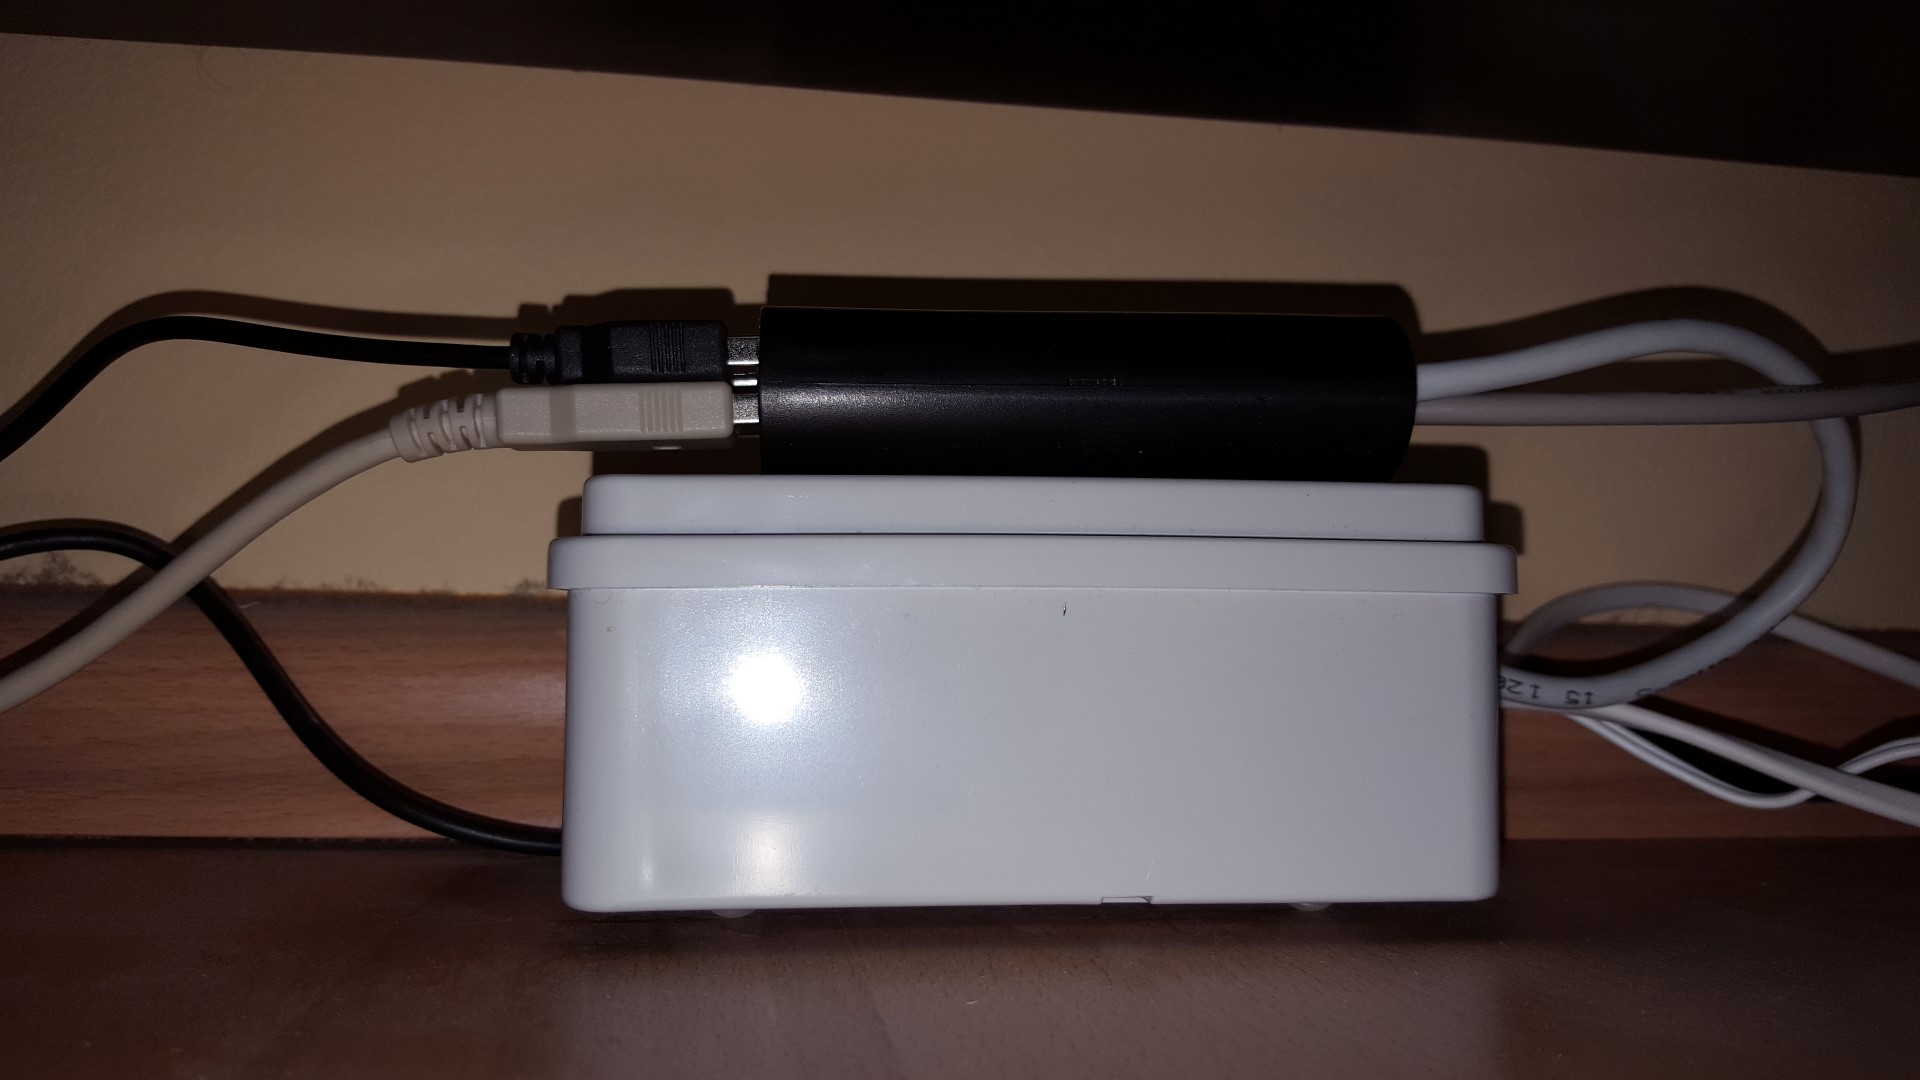
We are going to use active speakers, so I have selected JBL Creature II for my project. Here where SSR Solid State Relay comes in use. We are going to power down the speakers by disconnecting mains power via SSR Solid State Relays. Then we can connect SSR Solid State Relay to the Raspberry Pi3. For Relay we are going to use GPIO 23 (pin 16) and 24 (pin 18). For power we will use pin 4 for for +5V and pin 14 for ground.
After completed with the connections we can begin with our software part.
Installation
First we install RuneAudio.
After RuneAudio is installed we install python-mpd2 module using commands:
pacman -Sy
pip install python-mpd2
After all is installed we download the extra software needed to use the remote and the display.
When mpcdeamon.zip was downloaded we can extract it in the RuneAudio root (/) directory. To install the daemon use following commands:
systemctl enable irexec.service
systemctl enable mpcdaemon.service
reboot
When system has booted up we can start the radio by pressing play button. Also we can play mp3's if we have an external USB key connected. Enjoy the music!